Elden Ring Nightreign is lastly right here, and regardless of the acquainted places, enemies, bosses, and weapons, you get the purpose, the strategy to conquering the Nightlords is barely totally different. Limveld is a map that is still static in some ways whereas altering in others, and due to the rogue-like nature of the sport, you’ll at all times begin at stage 1. Listed here are 15 tricks to achieve a bonus, survive the rains and finally repulse the Night time.
Selecting the Superb Nightfarer
Each Nightfarer can use each weapon kind. There’s no restriction based mostly on stats – so long as you’re on the proper stage, it’s honest recreation. Some characters are definitely higher suited in the direction of sure weapon sorts – just like the Recluse for wands, incantations and whatnot due to her larger MP. Nevertheless, when deciding on a Nightfarer, take into account the one with probably the most comfy playstyle. The Executor’s Cursed Sword could look cool for deflections, however in the event you can’t reliably get the timing down on a regular basis, it’s not price it, even when remodeling right into a Crucible Beast is sick. Equally, in the event you’re enjoying as a Wylder, don’t simply act out the everyday melee warrior position – attempt to dabble in ranged assaults, tanking, and magic as effectively to actually function a jack of all trades.
Coordinate Final Arts
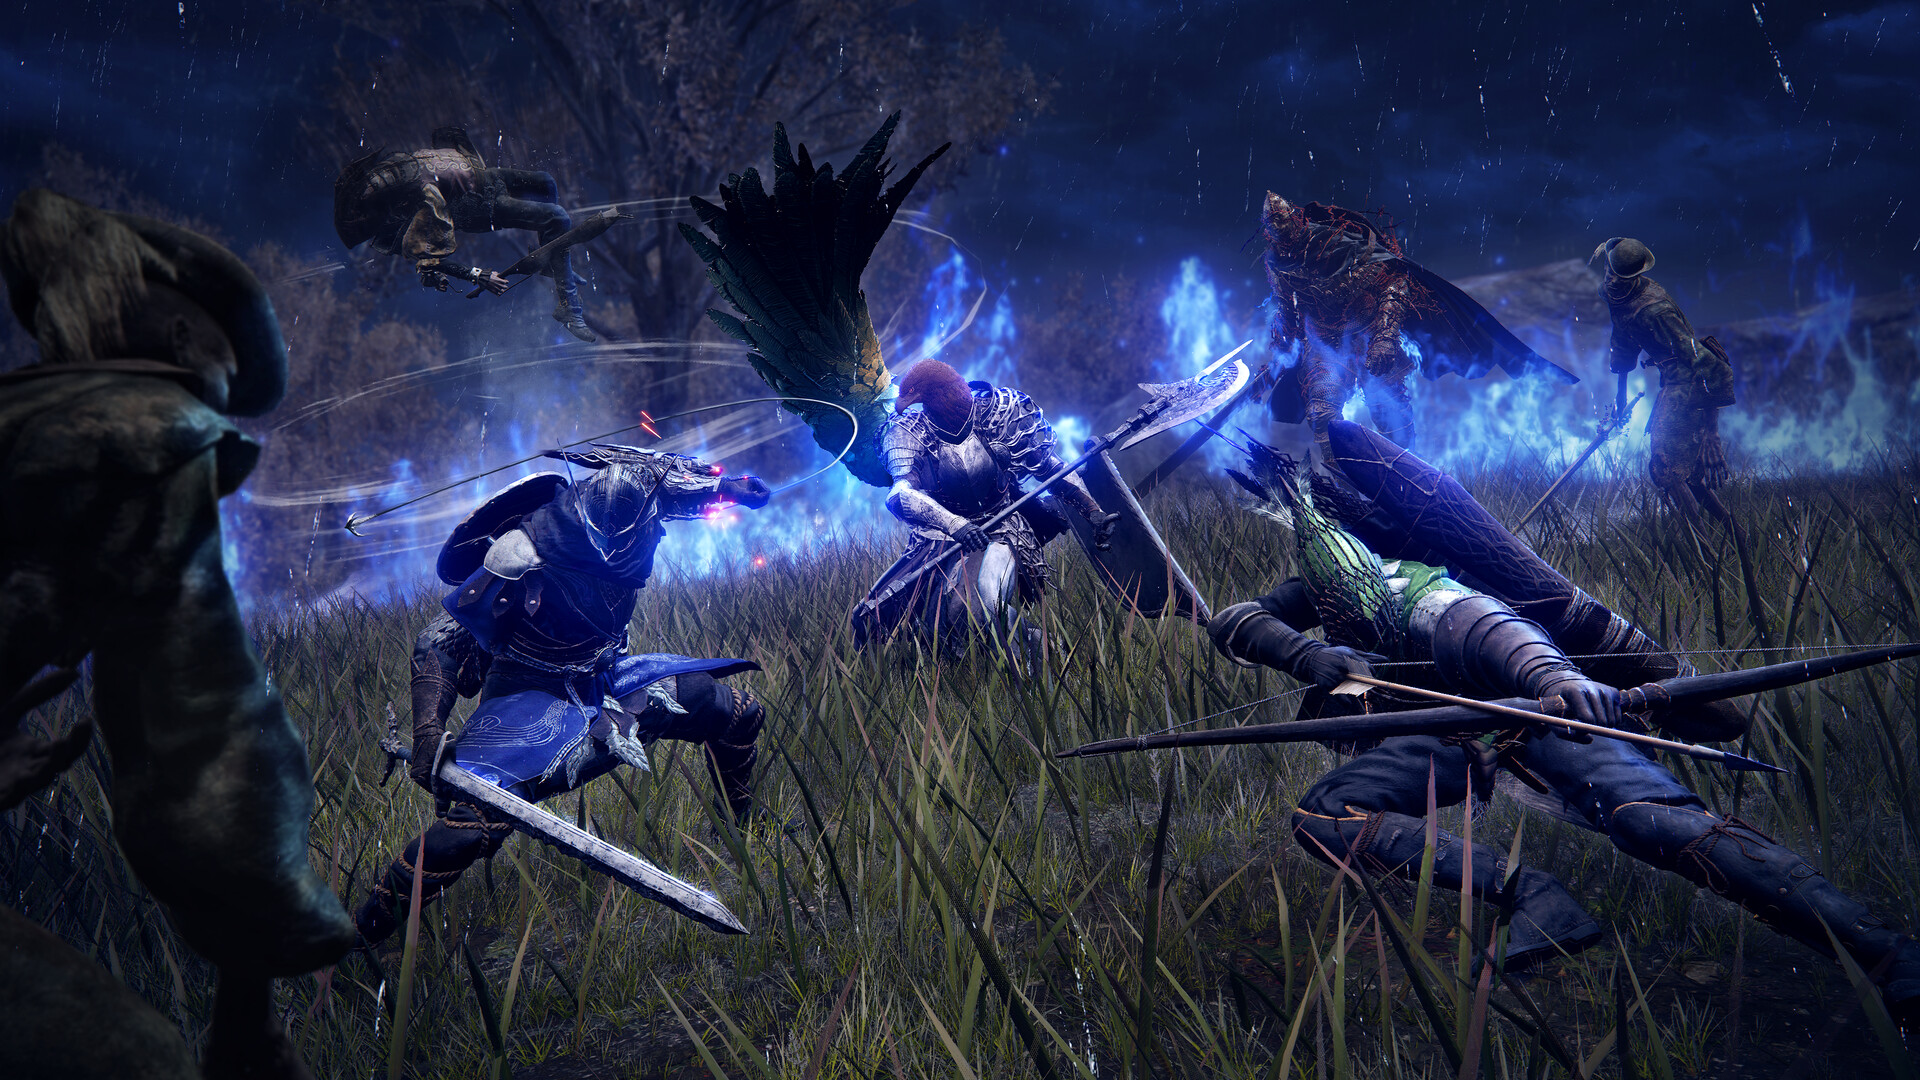
In a recreation with out voice chat and even callouts to emphasise timing, coordinating Final Arts together with your allies could be difficult. One dependable mixture can work wonders for defeating bosses. Have two Nightfarers – be it the Ironeye, Wylder or Raider – unleash their Ultimates, after which activate Rewind with the Duchess. You’ll deal a fast burst of serious harm, which might make the fights that a lot much less painful. After all, you also needs to determine when to carry sure harm Ultimates for particular conditions, like breaking Libra’s barrier.
Be taught the Map
Loot is randomized all through Limveld, however that doesn’t imply something can drop from wherever. If you happen to open the map and choose the choice for a extra detailed overview, you’ll see icons for various weapon and elemental harm sorts. Whilst you’re not assured a selected armament with a selected perk on a regular basis, some gadgets – like Smithing Stones to go from an Unusual to Uncommon weapon – will drop 100% of the time from a selected boss. It’s thus very important to study the map and get probably the most out of each run.
Exploit Elemental Weaknesses
Understanding the place to acquire sure weapons and elemental harm sorts is very essential as a result of every Nightlord has a selected weak point. Earlier than beginning a run, you’ll be able to view their weak point by way of a small icon close to their picture. Studying the combat’s mechanics and staying alive are nonetheless essential, however exploiting that elemental weak point will make issues a lot simpler.
Diversify Your Weapon Roster
It ought to go with out saying, however protecting a wholesome collection of weapons is essential. Positive, your Ironeye could solely actually use a bow all through, but when it doesn’t deal elemental harm, it’s higher to choose up a melee weapon or Incantation that does. On condition that larger rarities can have worthwhile passive results, like negation to totally different elemental harm sorts, it’s all of the extra important in opposition to sure bosses.
Know When to Problem Sure Bosses
All through the isle, you’ll uncover a number of roaming bosses that may be challenged, like, say, the Draconic Tree Sentinel. Do your self a favor at decrease ranges: Don’t. Except you and your crew are assured in your dodging and harm, it’s a dangerous play. And typically, your harm might not be sufficient, which implies wasting your time. Return once you’re about stage 9 or larger on Day 2 to enhance your probabilities.
Superb Ranges for the Nightlords
Talking of ranges, the perfect stage for difficult the primary Nightlord, Gladius, is considerably versatile. You may get by in the event you’re stage 11 or 12, however that’s not the case for the others. Ranges 13 or 14 can be ideally suited – something much less, and also you’re successfully asking for hassle. They could not present an amazing numerical benefit by way of well being and harm, however each little bit helps.
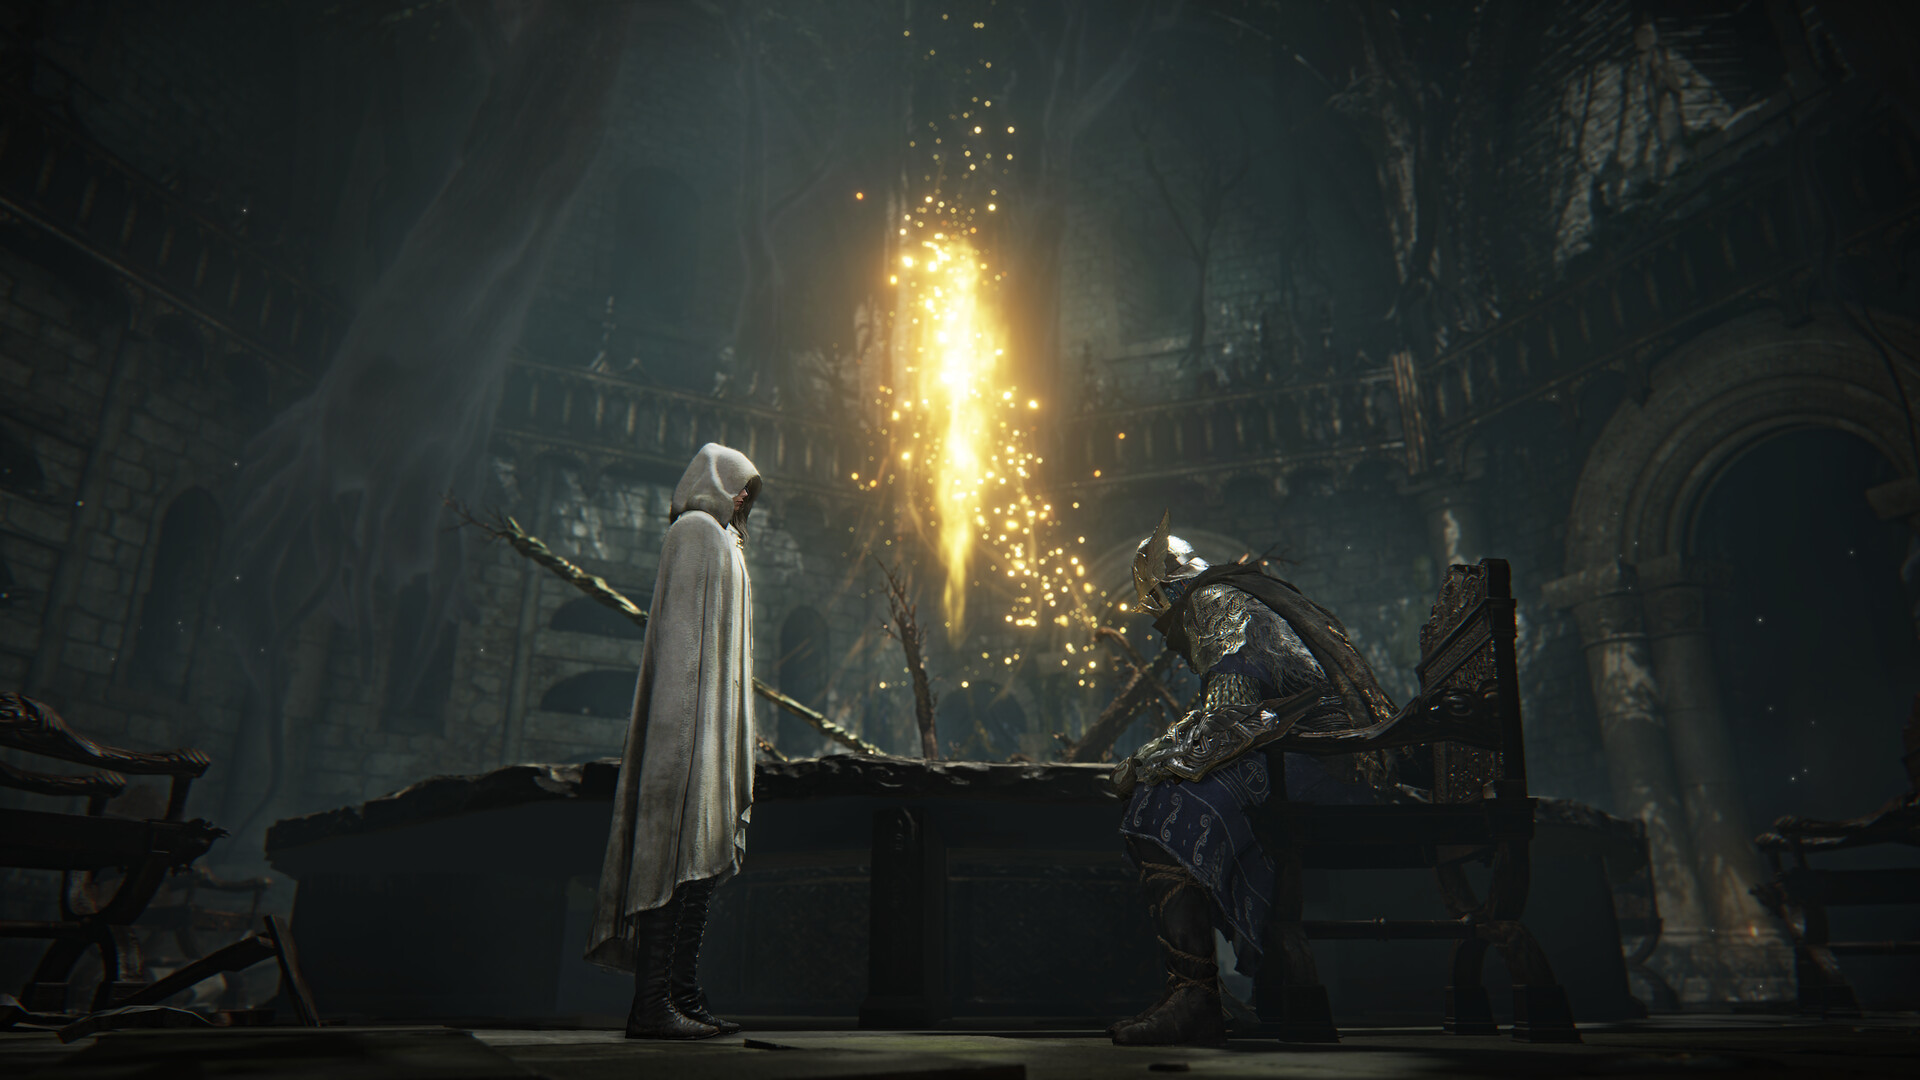
Relic Rites

The seller within the Shrouded Roundtable Maintain will present emotes and Relics so that you can buy. You’ll be able to even spend Murk obtained from every run on random Relics. Nevertheless, buy the Relic Rites for every character first since these unlock totally different loadout choices. Every Relic is color-coded, so that you’re compelled to make use of sure choices and pass over others. Whereas this doesn’t precisely develop on the quantity you’ll be able to take into battle, it does provide a greater variety of techniques (particularly after acquiring some worthwhile Relics from defeating the Nightlords).
Take a look at Weapons within the Sparring Floor
Curious how a weapon and its capability work? Wish to apply your parrying or numerous weapon expertise? The Sparring Floor is very really helpful. Not solely can you choose totally different weapons to apply with, however there are additionally choices to regulate your stage, stamina and well being restoration, capability and Final cooldowns, and extra.
Difficult the Fort
The fort on the very middle of Limveld is unchanging, and even when its enemies could be totally different, it’s nonetheless the spot that requires tackling at stage 9 or larger. Oftentimes, you’ll run into Crucible Knights, and whereas they could be a ache to combat, they’ll present tens of hundreds of Runes per kill. Excellent for that ultimate push into larger ranges on Day 2.
Shifting Earth
Shifting Earth adjustments a piece of the map right into a model new location. They’re particularly harsh with high-level enemies and tough environmental situations. As an example, the Mountaintop can inflict Frostbite and has some notably powerful Ice Dragons. Nonetheless, braving it should grant a robust resistance to Frostbite and elevated harm if there’s Frostbite within the space. The Crater is probably probably the most important although. Descend into the Forge and you’ll improve any weapon to Legendary tier, freed from value.
Full Remembrances
If you acquire sufficient Reminiscence Fragments from runs, verify the Journal and flip via its pages till the choice “Start Remembrance” is noticed on the backside of a web page. Upon getting into it, you’ll get a private goal, which requires heading to Limveld and finishing a selected activity (normally slaying particular bosses and enemies). It’s price following them via since they’ll present a number of the finest Relics for every character.
Save Vendor Purchases for Day 2
Distributors adorn quite a few spots via Limveld, however you need to maintain off on buying something on Day 1, particularly Smithing Stones and weapons. You’ll discover an ample quantity of loot by merely enjoying and even a Smithing Stone or two if you already know the place to look. If you happen to desperately want a better rarity weapon, further consumable slot or any form of Wondrous Physick, spend on Day 2.
Getting Extra Flask Fees
Bear in mind your first space in Elden Ring? No, not the battle with Rick or the compulsory dying battle, however in Limgrave, particularly the constructing the place you met the primary vendor. Identical to its predecessor, Nightreign has a number of such places, helpfully marked in your map, which comprise flask fees. They could often have smaller enemies, however in any other case, hit them up shortly for extra therapeutic.
Simply Avoiding the Night time’s Tide
The Night time’s Tide received’t be the most important run-killer, however it should trigger quite a few issues, particularly in the event you’re downed earlier than a boss combat to finish the evening. There are a number of methods to keep away from it – like utilizing Spirit Streams and, as an alternative of dealing with the wall in query, entering into a very totally different path to realize extra distance. If you happen to’re underground and having hassle discerning the place the Tide is coming from, it’s doable to evaluate the gap by sound alone. Even when it’s just some meters, you’ll know whether or not it’s the suitable approach or not.