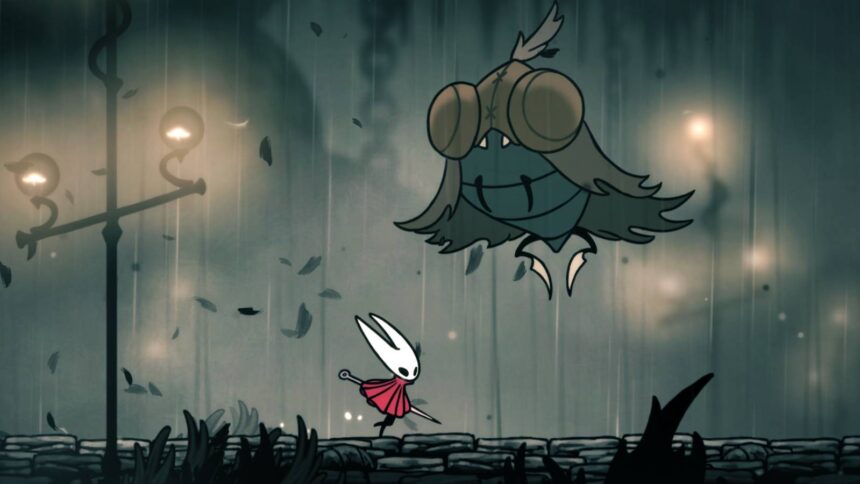
The Moorwing boss in Hole Knight: Silksong is an airborne nightmare. Regardless of the multitude of robust bosses within the recreation, Moorwing has by some means managed to achieve a popularity as one of many hardest fights in Act 1. Don’t really feel unhealthy should you’re fighting this one.
Not solely will this information present you how you can defeat Moorwing in Hole Knight: Silksong, nevertheless it features a secret workaround — a technique to “cheese” the Moorwing boss struggle. The vexatious fly will hassle you not.
Moorwing location in Hole Knight: Silksong
Moorwing is situated within the southwest nook of Greymoor:

After leaving Far Fields via the massive vertical chamber and thus coming into Greymoor, you should go to the left till you attain the Midway House with Creige and Nuu inside. That is additionally the place you’ll discover the closest resting bench to the boss area. Proceed west till you attain the world with the platforms hanging from the thick chains. Drop into the opening on the left facet, and proceed to the left to search out Moorwing.
Moorwing’s moveset
Here is an summary of Moorwing’s assaults and how you can keep away from them:
- Dive bomb — Moorwing will drop down in swift flight and attempt to hit you from both left or proper. Bounce and sprint in the other way to keep away from it, and should you’re up for it, attempt to carry out a downward assault once you’re proper above Moorwing.
- Claw assault —Moorwing slashes you along with his toes. This one could be very onerous to dodge, however there’s a technique to predict it: Moorwing will briefly open his mouth as if he’s yelling simply earlier than launching the assault. You may be capable to hit Moorwing from the facet throughout this assault, nevertheless it’s fairly dangerous as you don’t need to by accident contact these claws.
- Orb taking pictures —Moorwing rolls an power orb throughout the ground. It’ll cost in his claws for a cut up second earlier than it’s unleashed. Bounce over it to rapidly land some hits on Moorwing should you’re quick.
- Double orb taking pictures —After fainting for the primary time, Moorwing shoots two orbs throughout the bottom as an alternative of 1. Bounce twice to keep away from injury, and beware that the second orb will loop round (full circle), so wait a second earlier than dashing in direction of the boss and touchdown some hits.
- Double circling orb assault — That is one other orb assault added to Moorwing’s arsenal after fainting. Moorwing will shoot two orbs upward, one to the left and one to the fitting, and each will circle down earlier than taking pictures away to the opposite facet (like a bowtie form). Once more, you’ll have to leap twice; as soon as to keep away from the orb circling down in your facet, and as soon as to keep away from the orb coming from the opposite facet. Bounce in direction of Moorwing and also you’ll be capable to hit the boss proper after the second orb has handed.

Methods to put together for the Moorwing boss struggle
Since he dives down pretty often, it’s fairly straightforward to hit Moorwing with both the Straight Pins or String Shards instruments, so remember to use them. The Crest of the Reaper is likely one of the finest crests for this struggle, because it’ll grant further Silk, which you’ll use for extra frequent therapeutic (or Silkspear assaults should you don’t want the HP). When you choose the Crest of the Wanderer although, thoughts that avoiding the claw assaults could also be a bit tougher because of its shorter vary.
To make sure you don’t get hit whereas utilizing your Silk, equip the Warding Bell. When you aren’t utilizing the Crest of the Reaper, you may choose the Druid’s Eye as an alternative, because it grants further Silk once you take a success.
Lastly, take into account recruiting a close-by NPC and his sidekick that can assist you throughout this boss struggle. They’re referred to as Garmond and Zaza, and are situated northeast of Moorwing. Converse with them, get overwhelmed by Moorwing (sure, that’s needed), and return to the chamber above Moorwing’s area, the place Garmond and Zaza ought to have relocated. Converse with them once more to spawn them into the following struggle.

Methods to ‘cheese’ Moorwing
Bored with combating Moorwing? There’s a “cheat” choice that just about ensures a victory. First, and that is the primary draw back to this exploit, you should equip the Crest of the Reaper. The Crest of the Wanderer can work as nicely, nevertheless it’ll be a lot tougher to hit the boss.
To acquire the Crest of the Reaper, you should clear the Chapel of the Reaper, which is north of Moorwing’s area. As a substitute of dropping right down to Moorwing, proceed to the left and leap upwards, passing the corrupted pilgrim with the massive scissors. Go left once more and enter the Chapel right here:

When you’ve made it to the highest of the Chapel and claimed the Crest of the Reaper, return and enter the boss area to spawn Moorwing on the battlefield as common. Then, run to the fitting and use the wind present to get again to the place you entered this space. Moorwing will fly as much as the place you’re standing.

Within the nook to the left, just under the doorway, use the downward assault to hit Moorwing via the ground. You may hit the boss, however the boss can’t hit you — a super scenario, isn’t it?
Make sure you leap up and assault instantly after, as there isn’t numerous leeway earlier than you hit the bottom once more. Watch out to not by accident leap via the hole within the prime proper, as it will reset the boss struggle.
Moorwing rewards
Sadly, you don’t get any direct rewards for beating Moorwing, however you do get entry to Bellhart, a cursed city that’ll turn out to be fairly beautiful when you full the “The Threadspun City” quest.