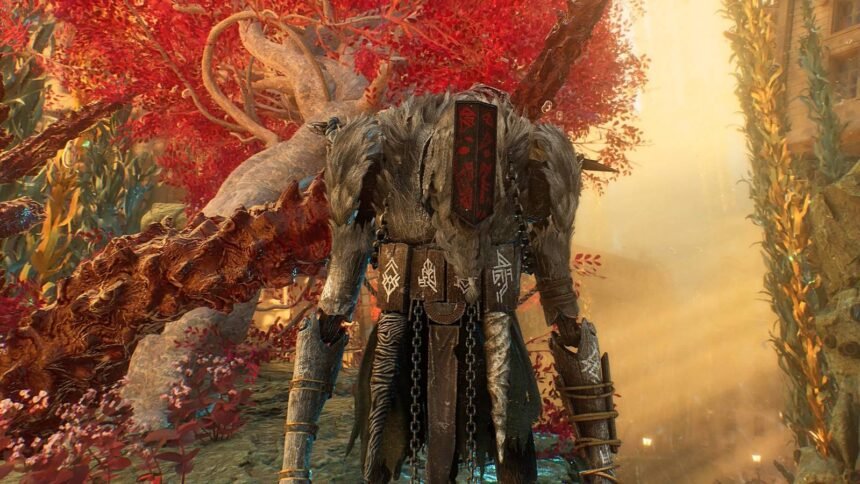
Getting a strong Monoco build together in Clair Obscur: Expedition 33 seems like a daunting task with too many variables to think about. However, managing the Bestial Wheel’s turns is easy — when you don’t even have to think about it. While you can make Monoco’s build hyperspecific and complicated, based on a carefully selected sample of skills and expert wheel manipulation, you can also just make him smash things. And it turns out smashing things helps the rest of the party do their jobs even more effectively, too.
Below, we break down the best Monoco build in Expedition 33, including weapon choices, Pictos and Luminas, and how the build works, plus which enemies to track down for Monoco’s top skills.
Best Monoco build overview
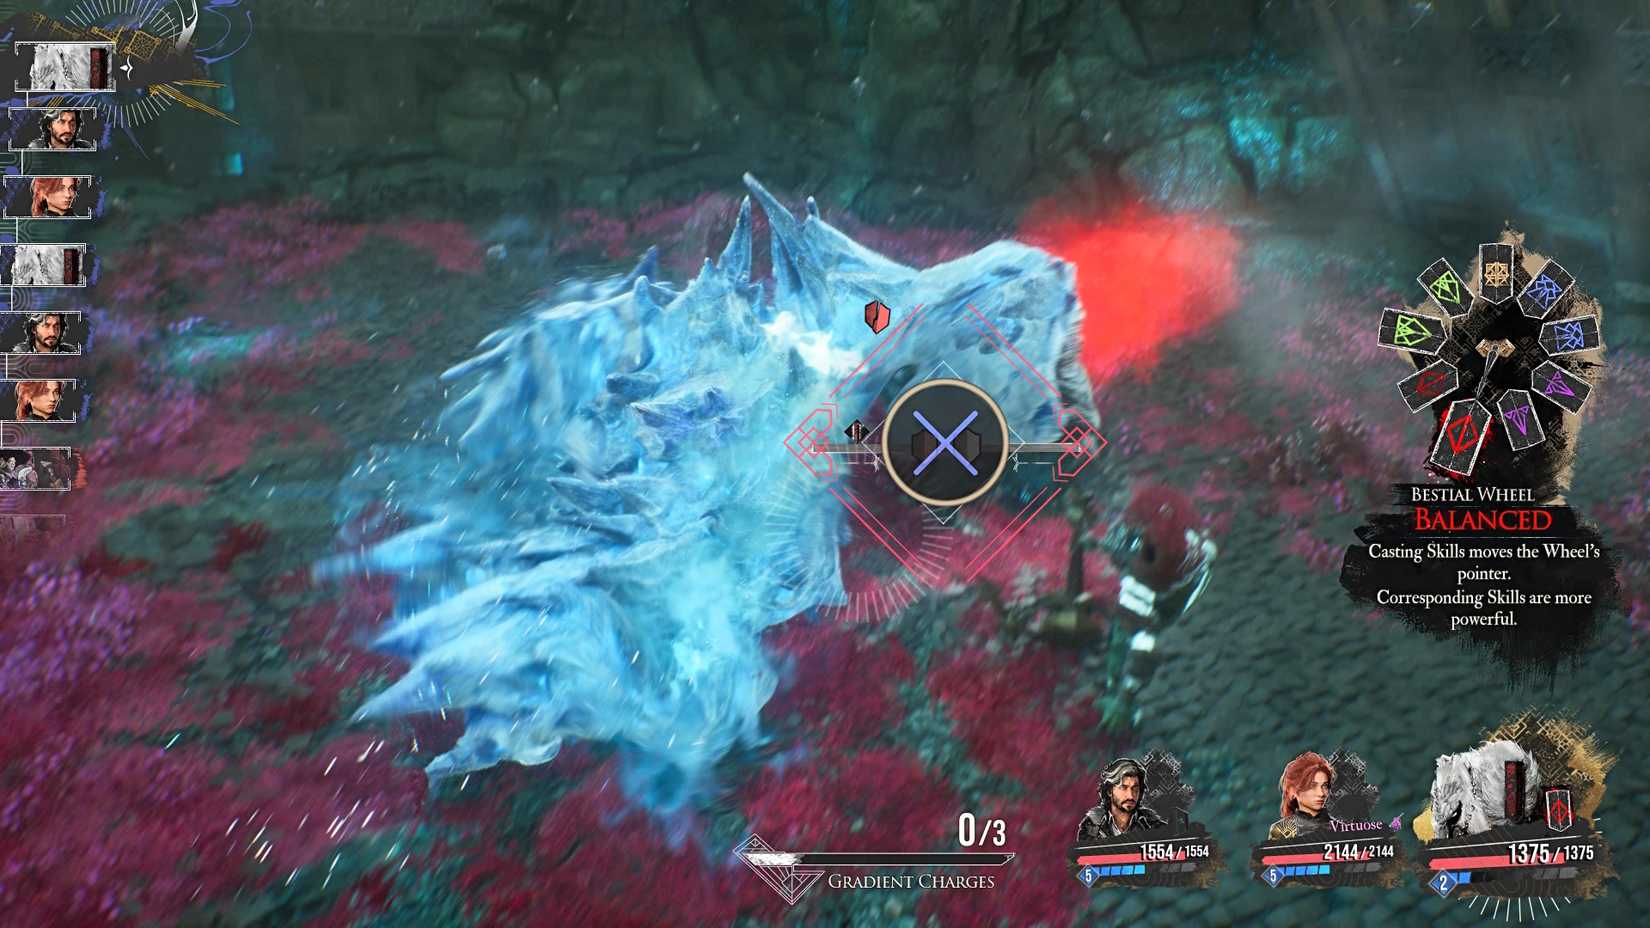
Monoco has an overwhelming number of possible builds, and you can really get lost in the weeds putting something together that manipulates his Bestial Wheel and leans into specific mask types. We aren’t doing that. Instead, our Monoco build opts for something more universally useful (and less reliant on counting wheel skips to function properly). It puts Monoco in a supporting role that gives something back to the party and lets you deal heavy damage and even apply debuffs without having to wait for the right turn of the wheel to pull it off effectively.
Until the start of Act 3, this build relies on Monoco’s starting weapon, the Monocaro, thanks to its helpful start-of-battle buffs. And while you could continue using it after Act 3, there’s another one locked behind an optional boss that makes this build sing: Urnaro. Urnaro pushes Monoco into a break role and puts the wheel on Almighty more frequently, which means any skill Monoco uses in that state, whether it breaks or not, is more powerful regardless of its mask alignment.
Best weapon for Monoco
Monoco joins the party with his best, and easiest, weapon to use for the remainder of Act 2, Monocaro.
- Element: Physical
- Scaling: Agility (S), Luck (A)
- Level 4: Begin battle with the Bestial Wheel set to Balanced
- Level 10: Balanced Mask provides the Powerful buff to Monoco for three turns
- Level 20: Critical hits deal 30% more damage while the wheel is set to Balanced
This weapon is a general-use one that lets you get good mileage out of pretty much any skills you stick on Monoco. It’s also one of the only weapons that lets you start a fight with a buff that helps you end that fight more quickly and boosts any skill Monoco uses, whether it’s a Balanced one or not.
Once Act 3 begins, and you can travel to previously out-of-reach areas, head to Sky Island (in the air, east of the Forgotten Battlefield) and defeat the boss there. You’ll get Monoco’s Urnaro weapon for your trouble.
- Element: Earth
- Scaling: Vitality (S), Luck (A)
- Level 4: Set the wheel to Almighty after Monoco breaks an enemy
- Level 10: Almighty Mask gives two AP to all allies
- Level 20: Monoco deals 50% increased break damage
Just don’t forget to respec your chosen attributes if you do swap weapons.
Monoco has access to several powerful skills that deal high break damage, so you’ll be setting the wheel to Almighty on a regular basis with this weapon. Granting allies extra AP is always a good thing and lets you take more risks even with AP-plentiful setups like our Verso build, and all of Monoco’s skills deal increased damage when the wheel is set to Almighty. Everybody wins, except your enemies.
Best skills for Monoco
This build is break-focused, but there’s still room for Monoco’s non-break damage and support skills. Remember that Monoco must be active in the party (not just in the backup party) when you defeat an enemy for him to acquire a foot and learn that enemy’s special skill.
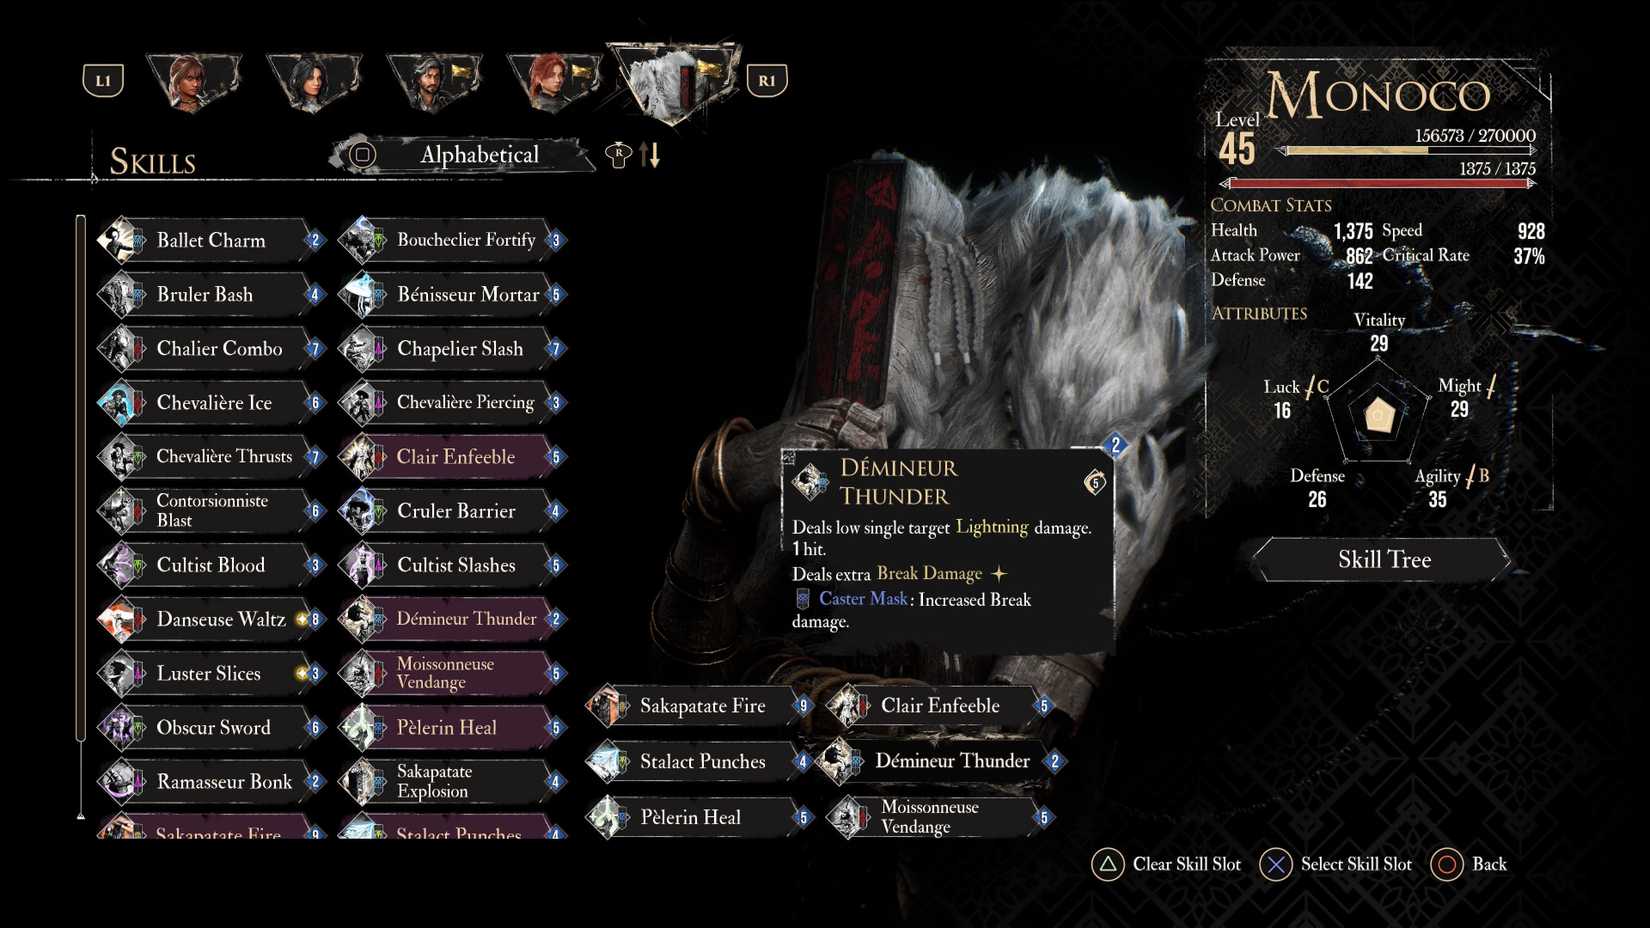
- Stalact Punches (Monoco joins with this skill)
- Moissonneuse Vendage (defeat a Moissonneuse enemy, found in the Visages area)
- Sakapatate Fire (Defeat the Ultimate Sakapatate, found in The Monolith)
- Clair Enfeeble (Defeat a Clair enemy in The Monolith)
- Demineur Thunder (defeat a Demineur in Flying Waters or The Monolith)
- Pelerin Heal (defeat a Pelerin in Frozen Hearts)
Stalact Punches is this build’s cornerstone, since it hits hard, costs comparatively few AP, and doesn’t require you to hunt down random enemies in hard-to-find places. Portier Crash gives you some extra oomph when the wheel is on Heavy, though, as a one-hit skill, it’s only worth using after you acquire the Picto that breaks the 9,999 damage cap.
Moissonneuse Vendage deals a lot of break damage several times and ignores elemental resistances, but the main reason it’s here is that it keeps AP costs down. This one costs five AP, so while you might get a bit more damage out of something like Portier Crash, Moissonneuse Vendage won’t stop you from using Monoco’s other powerful attacks.
Keeping AP costs down is a good thing, seeing as Sakapatate Fire costs a whopping nine AP. It’s worth the trouble, though. The skill deals extreme fire damage to all enemies several times, and applies three stacks of burn per hit — handy, if you’re not using a burn-based Lune or she’s using another skill that turn. If you’re struggling to maintain enough AP to use Sakapatate Fire regularly, consider swapping it for Braseleur Smash. It’s less explosive, but still burns enemies and only costs four AP.
Clair Enfeeble is an essential debuff that applies Powerless to all enemies, including bosses, and reduces the damage they deal. You’ll encounter an absolutely massive amount of Clair enemies in the last stretch of The Monolith, so it’s almost impossible to miss that. Almost all of Monoco’s Pictos and Luminas are for AP recovery and break damage, too, so this skill is a handy way to apply debuffs without having to rely on other character builds or give up Monoco’s slots.
Demineur Thunder is our pick since it doesn’t clash with anyone else in your party, and lightning resistance is comparatively rare. It does the same thing as Ramasseur Bonk, a popular choice for a low-cost break skill, but the latter’s usefulness depends on your party setup. If Sciel is part of Monoco’s party, she’s got dark damage covered, and with the number of enemies that resist darkness, you don’t need two dark attackers on the same team.
Pelerin Heal is a low-cost way to keep the party’s health up. Verso likely won’t need it if he’s on Monoco’s team, but it’s very helpful for Maelle and frees an extra skill slot for Lune (if she’s present).
Best Pictos for Monoco
- Breaker
- Energizing Break
- Quick Break
These three increase Monoco’s break damage and give him buffs when he breaks a foe. Breaker is the most important to get early, since it bumps break damage by 25%. Quick Break lets you act again after breaking a foe, and Energizing Break’s two additional AP granted upon breaking a foe means you can use that extra turn to use a high-powered attack, even if you just used one to break said foe.
It’s also worth noting that, before the endgame, it doesn’t really matter if you have, for example, Energizing Break as a Picto or a Lumina. By the start of Act 3, the important thing is just having the abilities available.
Best Luminas for Monoco
- Painted Power
- Dodger
- Break Specialist
- Critical Break
- Dead Energy
- Energizing Turn
- Stay Marked
- Rewarding Mark
- Recovery
- Breaking Burn
- Burning Mark
Painted Power is essential, since it lets you deal more than 9,999 damage, though you won’t acquire it until the start of Expedition 33‘s third act. The break Luminas are fairly self-explanatory — more break damage is the core of this build — but we also added Breaking Burn to help apply burn without having to use Monoco’s fire skills. If he’s in a team with Verso, there’s a high chance at least one enemy will always be marked, hence why Burning Mark, Rewarding Mark, and Stay Mark are on the list.
If you’re struggling to maintain Monoco’s AP, consider adding Energizing Start to your lineup for a small extra boost when a battle begins.
Finally, we avoided including Breaking Shots since Monoco’s AP is more wisely spent on his skills instead of on free-aim shots.
How to play Monoco
The short answer to this question is “you just hit stuff real hard.” There is, intentionally, minimal fuss with this build over where the Bestial Wheel is pointing and what you should do to move it to the right spot. Sure, it’s helpful if the wheel is pointing to a sign that matches a specific skill. However, Monoco’s Urnaro weapon effect will turn the wheel to Almighty, the best mask, when he breaks enemies, which will happen a lot. So you’ll be dealing high amounts of damage and break damage almost all the time.
You can get away without using Clair Enfeeble in most standard encounters, though in boss fights, make sure to cast it on Monoco’s first turn and then again when the effect expires. Use Pelerin Heal as necessary — if everyone’s healthy and you’re confident, you can leave it inactive for a bit to see how things go — and make Monoco’s break skills your priority. Stalact Punches and Moissonneuse Vendage are where most of your break damage will come from, but when you have enough AP, make sure to throw Sakapatate Fire in the mix as well.
Best party members for Monoco
Monoco is a sub-DPS whose break focus enables the party’s primary damage dealers to deal even more damage. In other words, he’ll fit in any team. The ideal one includes Verso and Maelle, for maximum damage potential and a near-guarantee that Monoco will have marked enemies to hit. However, a team with Lune instead of Verso also works effectively and gives the party access to a wider variety of elemental attacks.
Regardless of who he teams up with, there’s no specific skill rotation you need to focus on for everyone to function at their best. Monoco’s just there to break stuff.


